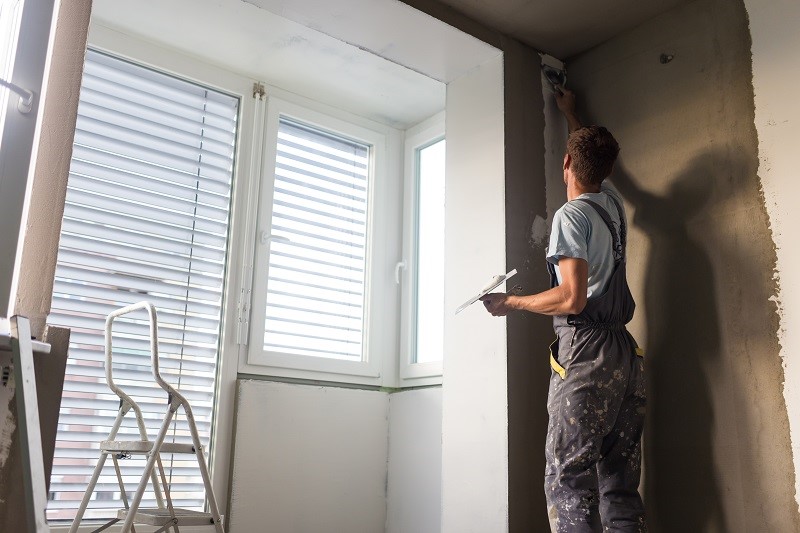
One of the most common misconceptions about venetian plaster is how water is only required to create the mixture when in actuality, the water forms an essential component and is necessary for ‘curing’ the rendered wall, after it has been set. But one of the issues that most people face when applying venetian plaster to their walls is how to avoid soft renders. Do check out the tips posted below.
Causes: One of the common causes why render stay dry and soft is because less water is used. This is why it is important that you take necessary measures while preparing mixture for venetian plaster and make sure the proportion of water in a concrete mixture is right for a strong building. It is vital that the mixture retains a good amount of moisture during the rendering process and post the process. It is essential that you avoid applying renders to the walls, especially exterior walls during peak winter.
Temperature matters: It is vital that you render a wall during optimal weather; for obvious reasons you cannot apply venetian plaster to exterior walls during the rainy season. The optimal temperature for applying renders to the walls is above 20 degrees Celsius. The application should take about 4 weeks to ‘cure’ and harden, and in the process making it stronger. Applying soft render to the wall can cause the wall to absorb all the moisture from the render even before it is set in, thereby causing it to slither off or crack and break away. So, make sure that the mixture has the right amount of moisture, and that the temperature is 20 and above, with high humidity. This can aid in the ‘curing’ process and should enable the render to set in more quickly.

Cold weather: If you are still planning to apply venetian plaster to exterior walls despite the cold weather, then you may have to modify the amount of water you add in, accordingly. During the cold weather, the mixture takes longer to set in and as a result, the mixture loses water a lot faster. What you can do is to use paint as a mist coat on rendered walls, an hour after application to ensure that the mix still has enough moisture in it as it sets in. So, make sure that you take the necessary precautions while applying the render to the wall.
Hydration: Hydration is a necessary step when it comes to rendering the wall; irrespective of whether you choose to apply the render to the wall. You would still need to take a mister and add some extra moisture to the mix, so that when it sets, it becomes hard and durable. This step is more important, especially when it comes to rendering the wall during the winter months. By hydrating the wall, you would be saturating the mixture with essential moisture; however, wait for 24 hours to see if the wall has become harder, if not then that is a sign that it requires more hydration.
These are some of the ways by which you can avoid the issue of soft render; it is important that your mixture has the right amount of moisture. Of course, it would be a good idea to get in touch with the professionals, but if you are still keen on handling this project on your own then you need to make sure that you take adequate precautions, including using drop clothes, visor, and gloves when applying the mix. With these tips, you should be able to do it effectively.


